Posted on Leave a comment

How to Make a Smudge Stick

How to Make a Smudge Stick - Naturally Mignon CBD

DIY sage smudge stick

I am going to show you how to make a smudge stick using a dry sage bundle and dried herbs.

So, if you have been searching, “sage smudge stick near me,” stop looking. You make your own DIY sage smudge stick at home.

Naturally Mignon offers organic sage smudge sticks that are already nicely bundled and cut. 

But I understand sometimes you just want to some DIY satisfaction. So, here is how to make your sage smudge sticks.

History

People have used smudge sticks, or smudging, as a traditional practice in various ceremonies and rituals to ward off evil spirits.

Indigenous peoples in the Americas, Africa and Asia handed down the ancient practice of smudging fresh herbs for rituals and as medicine.

Today, we use smudging sage bundles and other dried herbs for scenting the home and aromatherapy.

Interestingly, a study published in the Journal of Ethnopharmacology, burning medicinal smoke for one hour can reduce airborne bacteria by 94% and the purifying effects can last 24 hours.

Native Americans used three primary herbs:

  • Sage is used to dispel negative energy.
  • Cedar is used for an overall blessing or to cleanse where there has been illness.
  • Sweetgrass draws in positive energy.

The burning of smudge sticks is believed to provide a number of benefits:

  • Enhance Intuition – Healers have used sage because it contains thujone. Research shows that thujone is mildly psychoactive and it is used in spiritual rituals to enhance intuition.
  • Mood Improvement – A 2014 study showed that in specific cultures prairie sage is a viable treatment for anxiety, depression and mood disorders.
  • Stress Release – A University of Mississippi research project established that white sage has compounds that activate specific receptors related to elevating moods, reducing stress and possibly pain.
  • Improve Sleep – Negative ions from smudging can have a positive impact on how the body modulates serotonin. Negative ions have been observed to have a beneficial impact on balancing sleep patterns, promotes restfulness and improve physical performance.
  • Smells Good – Sage is a pleasant and clean fragrant scent. Burning sage can also do double duty as an chemical free air freshener or odor controller.
Indigenous peoples Smudge Stick
Light the top of the bundle

DIY smudging stick

The most common plant used for smudging is white sage, but there are others. There are many different plant materials you can use for smudging.

  • Sage smudge stick
  • Cedar smudge stick
  • Sweetgrass smudge stick
  • Lavender smudge stick

If you want to know how to make a rosemary smudge stick or how to make a sage and lavender smudge stick, just follow the instructions and add the herbs and flowers of your choice.

Please note: Do not inhale the smudge smoke, that will make you cough.

How to make a DIY smudge stick

Supplies

  • Sprigs of your chosen dried herbs
  • Cotton twine or sewing thread
  • Fire proof vessel for stick to rest on while burning (clay pot, glass)
  • Wooden match sticks (not a fire stick)

1. Lay out leaves

Assemble your herbs by layering the largest leaves or stems on top of each other.

Fresh herbs

2. Twine wrap

Cut a piece of twine 4 times the length of your herbs.

Cut the twine

3. Tie it off

Make a loose knot on the bottom of the bundle and begin wrapping the twine around the bundle tightly in a spiral up and the back down and then tie a knot to the loose bottom knot.

Wrap Smudge Stick

4. Let it cure

You want the leaves to be dry. Hang the sage bundle upside down in a dry sunny spot until the leaves are dry and brittle.

DIY Smudging Curing

5. Light it up

Grab a lighter and ignite the top of the bundle. Let the dry leaves ignite for a moment and then blow out the flame. It should then begin giving off a fragrant smoke.

Don’t inhale the smoke! Have a plate handy when you want to snuff it out. You can extinguish it and use it again.

Light Smudge Stick

Posted on Leave a comment

DIY Hand Sanitizer Gel with Aloe

DIY Hand Sanitizer Gel with Aloe - Naturally Mignon CBD

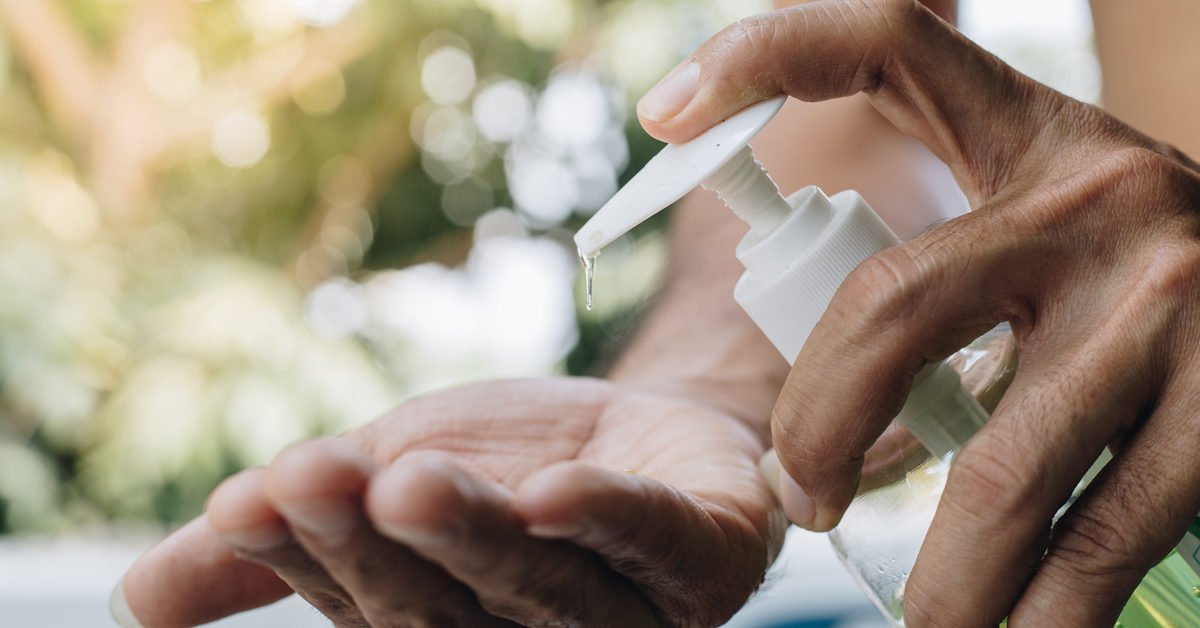
Running low on hand sanitizer? DIY your way out of it.

More than likely you will find the ingredients in your medicine cabinet.

There are a lot of hand sanitizing recipes out there, but I have found this DIY recipe to be one of the easiest to make.

Plus, meets the requirements of the CDC for optimum germ killing and protection.

This recipe makes three, 3oz bottles of gel.

Make sure you use 70% alcohol or higher.

You can use any essential oil that you like. Just make sure the total amount for this recipe is 15 drops.

I usually mix lavender or rosemary with tea tree oil.

Can you mix rubbing alcohol and tea tree oil? Yes.

The tea tree adds an extra level of antibacterial, and germ fighting properties.

You can use any aloe vera gel from your supermarket or pharmacy. Just make sure it is 100% aloe vera with no added ingredients.

You can source all of the materials locally. I have also sourced all the items to order from Amazon if that’s easier.

As of this writing, rubbing alcohol and aloe gel are hard to find in local stores.

Ingredient List

  • 1/3 Cup 100% Aloe Vera Gel
  • 2/3 Cup Isopropyl Alcohol
  • 15 Drops Essential Oil(s)
  • 3 – 3oz Containers
  • High Heat Spatulas


Aloe Vera DIY Anti Bacterial GelAlcohol DIY Hand SanitizerEssnetial Oil Hand SanitizerHand Sanitizer BottlesPyrex Cup Hand SanitizerSpatulas

Take your ingredients and mix them in a glass or ceramic bowl.

It’s best not to use a plastic bowel to mix with unless you know it’s safe for rubbing alcohol use. Many are not.

I like to use a Pyrex glass measuring cup and then simply pour into your containers.

I picked up the plastic dispenser containers at Amazon. I’m sure you can find them or locally too.

That’s it. This hand sanitizer takes about 10 minutes to make.

Now, you have your own portable hand sanitizer.

The best part? You made it yourself!

Use it and stay safe!